Quick Intro
So MongoDB has been the main database my team and I have developed our software platform on for the last 5 years. Its easy to learn and so far for us allows for a much faster development process.
We also found that as long as the right processes are put in place for apps that still require some sort of structure within the application, its a really nice DB to use if we still do want some relations between collections.
Now before we get into a spat about RDBMS vs NoSQL , this is just from the experience that I have had bringing my team up with complex software projects and the current technologies they are used to using since they are newer or younger software engineers.
To note, I personally spent a good portion of mys software engineering career using RDBMS’s but as of late I have also pretty much already moved away from RDBMS’s when I can help it and moved into the NoSQL world whole heartedly.
MongoDB Replica Sets
Now this post is not about MongoDB vs NoSQL or any sort of comparision but more about how to configure MongoDB as a replicaSet within a lab setting so that we can understand how it works and play with certain failover situations.
So quickly , what is a MongoDB replica Set configuration. MongoDB replicaset configurations are ways that we can provide a HA setting for our application (with HA meaning High availability).
HA configurations are used when the data needs to reside on many different nodes physically dis-joint and present in various different areas. Replica sets have a configuration where there is a primary node or master node which means the current active node for which read’s and writes to the database are made.
How to do the setup
Jadi sekarang yang penting, cara setup dan konfigurasi MongoDB buat replicaset. Please note, the assumptions are as follows:
- 3 nodes used for the replicaSet
- MongoDB 4.2.8 being used (should be OK though for various versions)
- Operating system is Centos 07
- Assuming no DNS server to add the actual full DNS names
Step 1) Install MongoDB
- Install MongoDB. The first step is to install the MongoDB database, as this is a Centos 07 installation we will update the repo to look at the MongoDB repo. To see a full instruction on how to do this we can refer to this document here by MongoDB.
- But essentially the steps are:
- create the new repo at : /etc/yum.repos.d/mongodb-org-4.2.repo
- Add the repo details:
[mongodb-org-4.2]
name=MongoDB Repository
baseurl=https://repo.mongodb.org/yum/redhat/$releasever/mongodb-org/4.2/x86_64/
gpgcheck=1
enabled=1
gpgkey=https://www.mongodb.org/static/pgp/server-4.2.asc- Execute the yum install command as follows
- “yum install -y mongodb-org”
Step 2) Update the host file
- Update the host files with the actual names of the hostname of the MongoDB servers so that we don’t have to configure them with IP addresses but with hostnames instead.
- So assuming I have 3 servers I add them into the host file and give it the names

Step 3) Run the MongoDB installation
- Lets look at how to run up the MongoDB processes. Note: If you are running the MongoDB as a lab setup you can run it as root , but as an installation for production please consider the proper security requirements for your setup to ensure that your database is safe and secure. With that , lets look at the setup.
- Start the mongod process on each server :

Lets look at the command line parameters:
- –bind_ip is the ip address that the mongod process will bind to
- –port is the port that this process will listen on requests from
- -dbpath is the path where all of the mongo data files will reside
- –replSet is the name of the replica set
Note that in this case I am running the mongod with nohup , this ensures that mongod runs in the background. Now we repeat this process on each of the different servers which are servers
- mongodb02.in.sidonesia.com on port 27017
- mongodb03.in.sidonesia.com on port 27017
Step 4) Configure the replicaSet
- After the MongoDB mongod processes have been run on each machine the next step is to create and connect all the nodes to create the replica set. The following steps will allow the process to happen

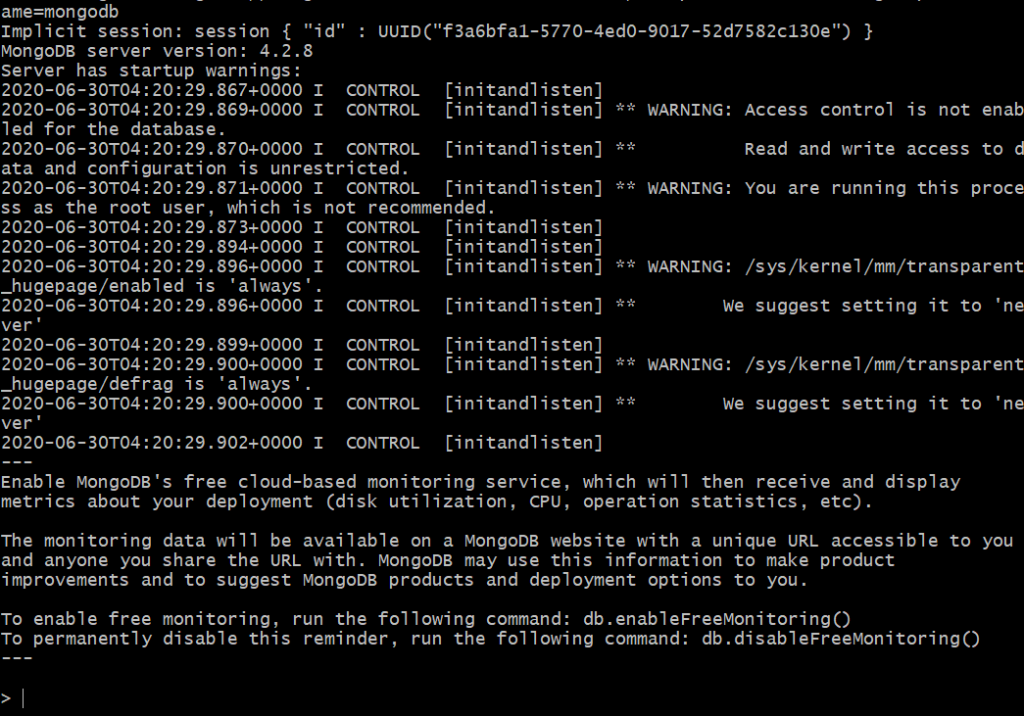
To get on this command line type in : mongo “mongodb://<hostname>:<port>”
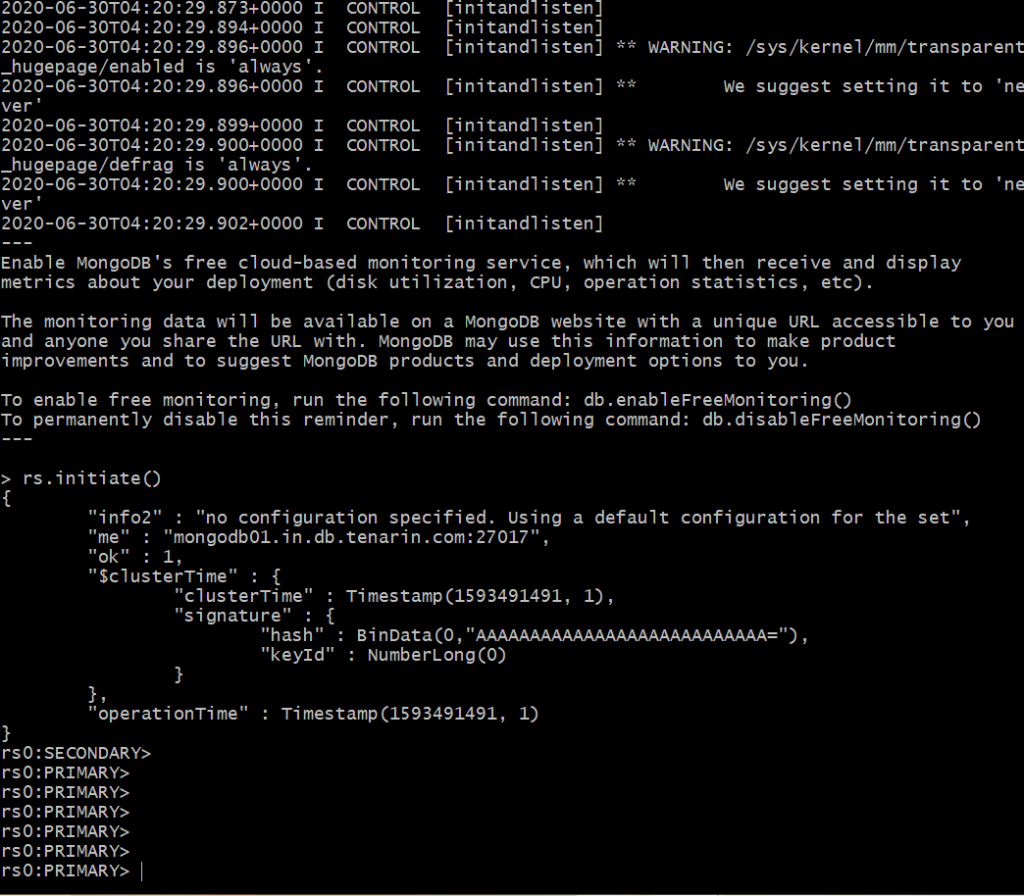
- The next step is to configure the replica set and initiate it , to do that we use the initiate command 🙂 as per below:
- rs.initiate() # rs = replica set commands

- After this is complete we add the nodes 2 and 3 into the replica set using the command rs.add(“<node_name>:<node_port>”)
- The commands look as follows when adding the different nodes, also note, ensure that network connection is available between the nodes and that you an reach the port numbers of each host , you can do this by doing a telnet to the port of the other nodes which should yeild the following output

- As you can see there is the ^] which means that connection is successful and the host mongodb01 is contactable and the ports are open for communication
- Next run the replica set add commands so that you add each of the nodes into the cluster as per the commands below

- As you can see above after adding each node the status of ok is set to 1 and the nodes have been added.

- On the other machines , inspect the log and you should see output as follows where it shows that the MongoDB instance on the specific node has been added as part of the cluster

- After the modes have added you can also check the status of the replica set by using the command rs.status(). This will show all the information regarding the replica set including the primary and secondary nodes
- It will show some overall information and also information on each node stored in a JSON array.

- This is the final step , now run the mongo client command from a separate machine that has access to the cluster and you should get a prompt.
- The command is as follows: mongo “mongodb://mongodb01.in.db.sidonesia.com,mongodb02.in.db.sidonesia.com:27017,mongodb03.in.db.sidonesia.com:27017/?replicaSet=rs0”
- This should get you into a mongo prompt and you can now test the cluster by stopping the nodes and continuing to do work
In summary that is how to get a 3 node cluster up , you can do various tests such as mongorestore a database and see that the data is replicated across all 3 nodes by inspecting the logs.
When doing a mongorestore you only need to send it to the primary node and the replication will occur. In the next post i will write a little about the architecture of the replica set and also show how to test the replica set to ensure that it is working as expected
Hope that helps 🙂